Here are some basic tips for setting a pointed back rhinestone into a pronged setting. We offer many vintage rhinestones and antiqued brass prong settings at Bumbershoot Supplies, and it is so satisfying and fun to set these vintage jewels and quickly create dangles, earrings, pendants, embellishments for jewelry and mixed media art.
You will need:
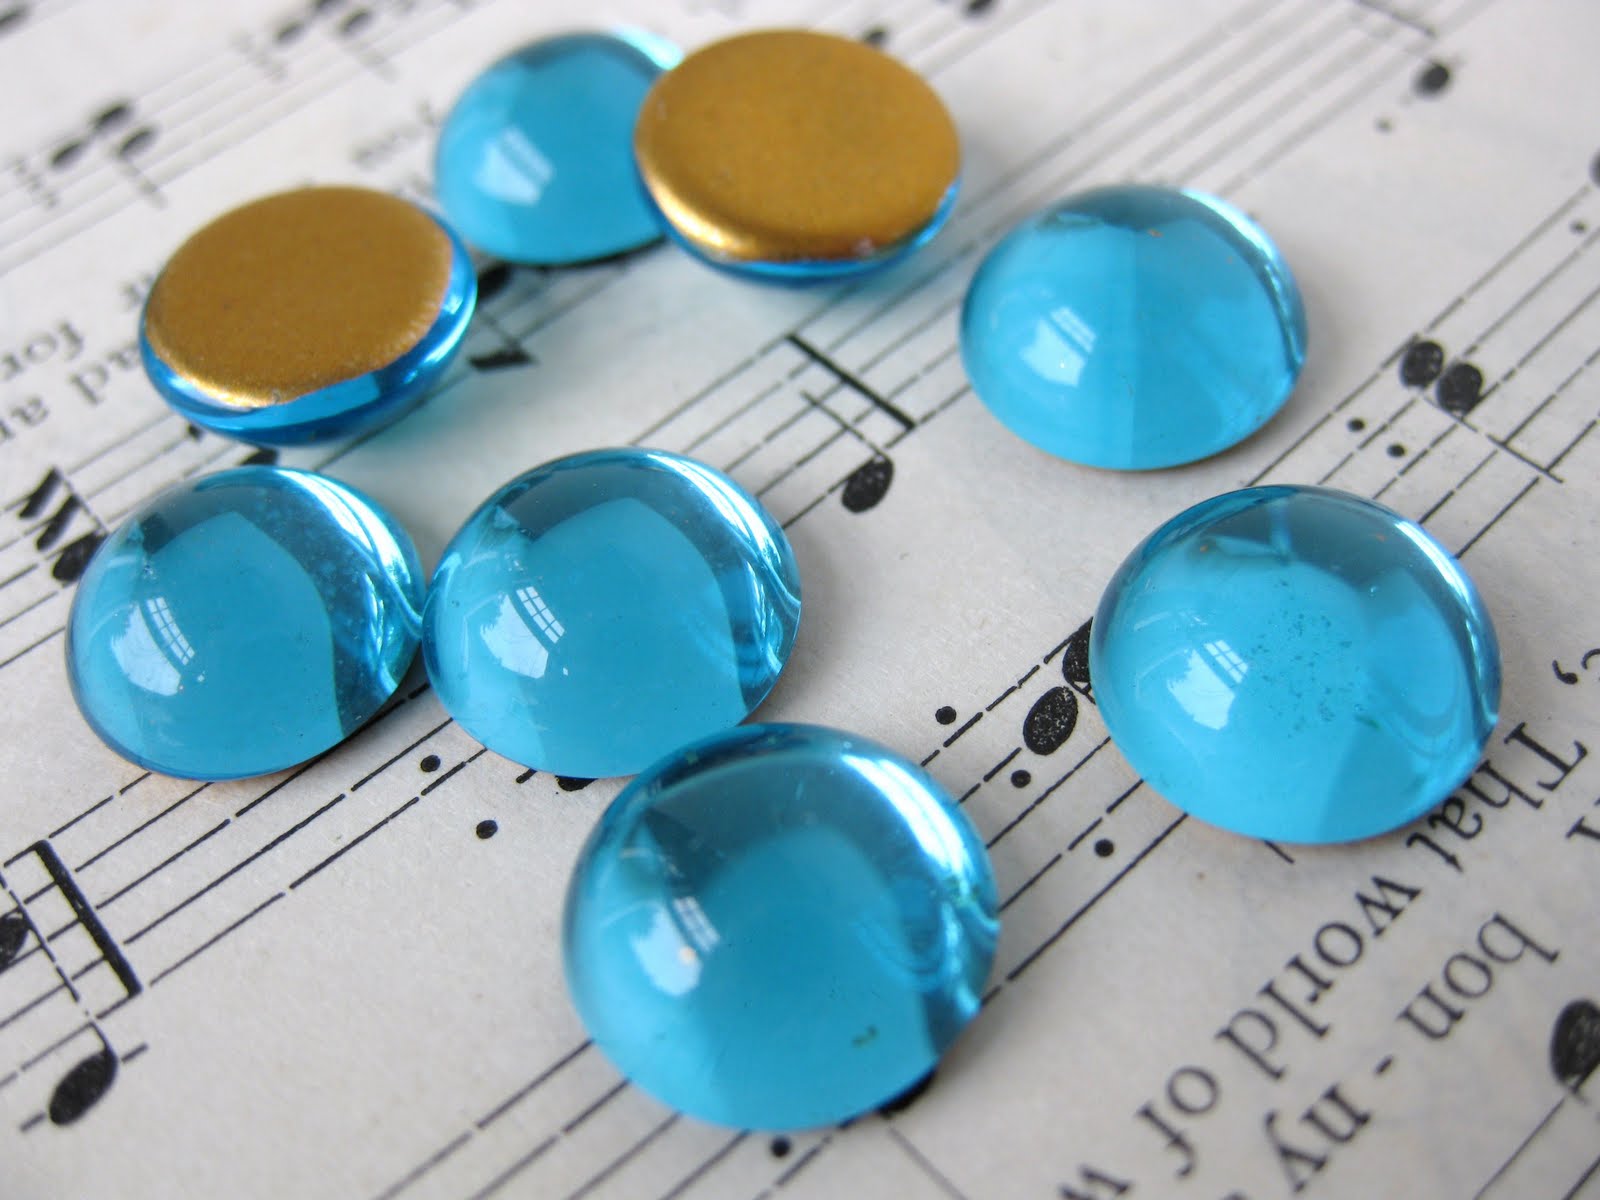
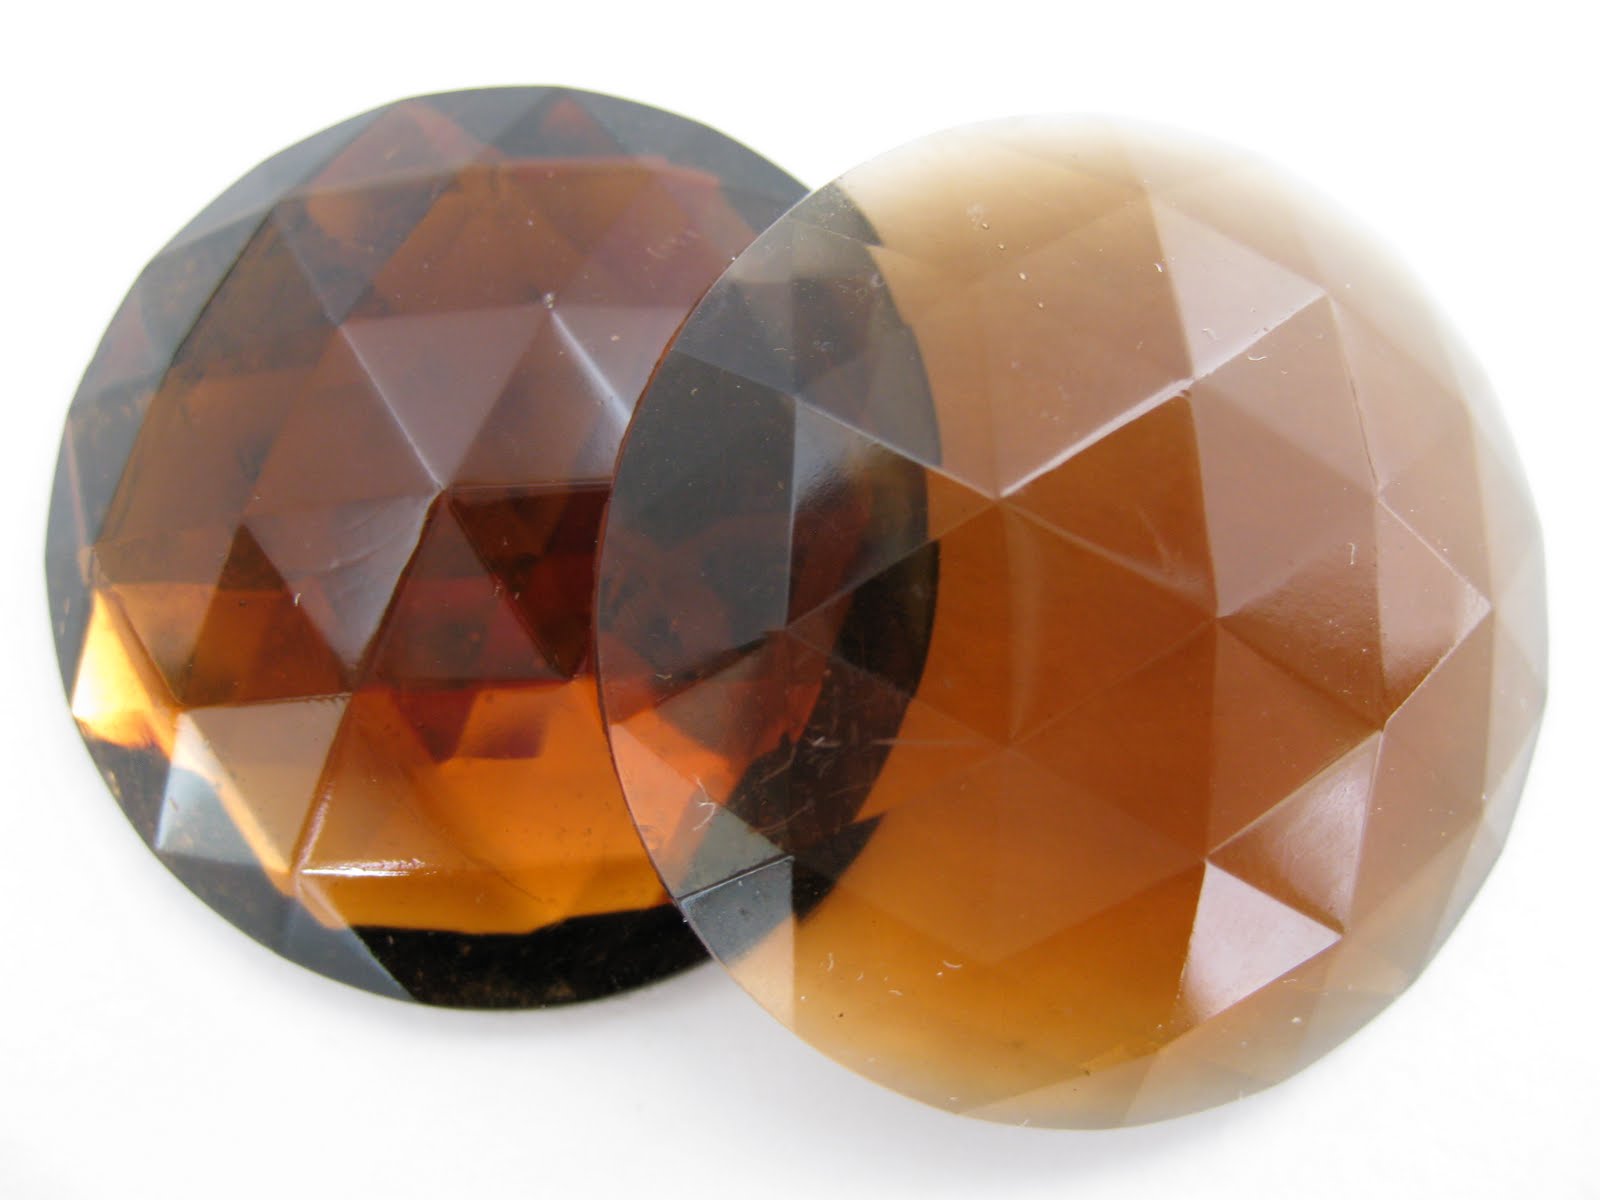
pointed back rhinestones
pronged settings to fit the rhinestones, with open or closed backs
wide flat nosed pliers
And perhaps: pointed flat note pliers, wire cutters (to address mistakes, see below)
There are also special prong setting tools, but I can’t speak about those since I don’t own one. I use the pliers shown.

1) Place the stone so it is sitting level in the setting. Ideally the edge of the stone will be just above the top of the setting. This sounds straightforward, but it is not always easy to fit vintage rhinestones into contemporary settings, even when both are supposedly the same size. You may need to open the prongs a bit, bending them gently out and away from the center of the setting. See tips section below for more on this process.

2) Firmly hold the stone in place with your thumb and index finger of your nondominant hand. Depending on the size of the stone and your thumb, yes, the prongs will stick into your finger a bit. Hold the stone in the middle so it stays balanced in the setting.


3) While continuing to hold the stone firmly, push down each prong with the wide flat nosed pliers. It is important to hold the stone firmly so it doesn’t slide or move around while you are setting it. I like to get each of the prongs (often 4 total) down and then go around again to tighten them.
Some Additional Tips:
1) Be careful if working with open backed settings so the back side of your pliers does not scratch the back of your stone.
2) Sometimes to fit a vintage rhinestone into a setting, you may need to open the prongs a bit, bending them gently out and away from the center of the setting. It’s sort of like hyper extending the prong. If you need to do this, go slowly and gently. Open all 4 prongs just a bit, see how the stone fits, then repeat. You want to manipulate the prongs as little as possible so they don’t weaken. You may even have to do this with rhinestones that come from the same lot – one may fit the settings just fine, the other may require more manipulation.
3) Don’t press too hard on the prongs first time around. You can chip and even break stones by pressing too hard, not that I would know anything about this personally, of course… :)

4) Try pushing prongs down on the diagonal. Often there are 4 prongs in a setting. Start pushing down one prong, then do the one diagonally opposite it, then finish with the last 2 prongs. This can help hold the stone level in the setting.
5) With practice, you will find the motion to push those prongs down. It’s sort of a rolling motion, with the pliers positioned towards the base of the prong, and the movement is pressing forward and down.
6) When you are learning to set stones, and even when you have been setting them for years, settings can get scratched, stones can slip and sit crookedly in settings and so on. In these circumstances, you may want to start over and reset your rhinestone in a new setting. I am told that a special prong setting and lifting tool works for lifting prongs up so you can reposition the stone to reset it. But like I said, I don't have one of those tools, so here is what I do: Sometimes I use a pair of narrow, pointed flat nosed pliers to lift the prongs enough to remove the stone and start again. Sometimes I actually use wire cutters to clip the prongs at the base where the prong attaches to the setting, in order to remove the prongs so I can get the stone out. I use just the tip of the cutters and go slowly so as not to scratch or cut the stone. My default is always “save the stone”. The reason I often decide to sacrifice the setting when my stone goes in crooked is because with repeated opening and closing, the prongs weaken and can snap. If you are repairing or replacing stones in a piece of costume jewelry, of course you must work with the existing setting. Otherwise it’s your decision: you can try to reuse the setting, or you can sacrifice it and start anew.
7) When you are learning, expect to lose a few settings and stones. There is nothing like practice to improve your ability to set all shapes and sizes of rhinestones in all kinds of settings. But no matter your level of experience, you will occasionally scratch settings, chip stones, have to reset stones, and so on. Be sure to have enough patience and supplies on hand to account for these occurrences.


8) If I want to be particularly careful when setting a stone, I use a small piece of quilting cotton and press the prongs down using the cotton as a barrier between my pliers and the setting. This takes a bit of practice, since you can’t see the setting as well, but it can decrease the chance of scratches to the setting and to the back of the stone if you are using open backed settings.
When I was teaching my daughter Emma to do this:

2) It may be counter intuitive, but I taught Emma using the more expensive stones – she actually learned on vintage machine cut Swarovski crystal stones, such as the green turmaline shown above. This is because these stones are so precisely cut that they fit really well into contemporary settings, unlike many other vintage rhinestones that are more roughly molded and may require some finesse and patience to set.
3) One thing to consider is using raw brass settings for practice stone setting. I do not recommend using raw brass for most jewelry designs for various reasons (and that is the subject of another upcoming blog post) but raw brass settings are the least expensive to purchase and may be a good choice for practice – sometimes you can feel a bit better about gaining experience when it costs a bit less. If you don’t want to use raw brass settings in your jewelry, you can just plan on removing the stones from the settings after you’ve practiced with them.
We did have to throw away a few settings, but using stones and settings that fit well together, and using the octagon shape, Emma was setting stones in no time – literally within minutes.
And if you want something even easier, at Bumbershoot Supplies, you will find a small number of glue-in settings designed specifically for larger pear and oval pointed back rhinestones. If you choose to glue-in instead, there is a tips for gluing tutorial on my blog, here.
And here is what we did with these rhinestones:


.JPG)
.JPG)
.JPG)