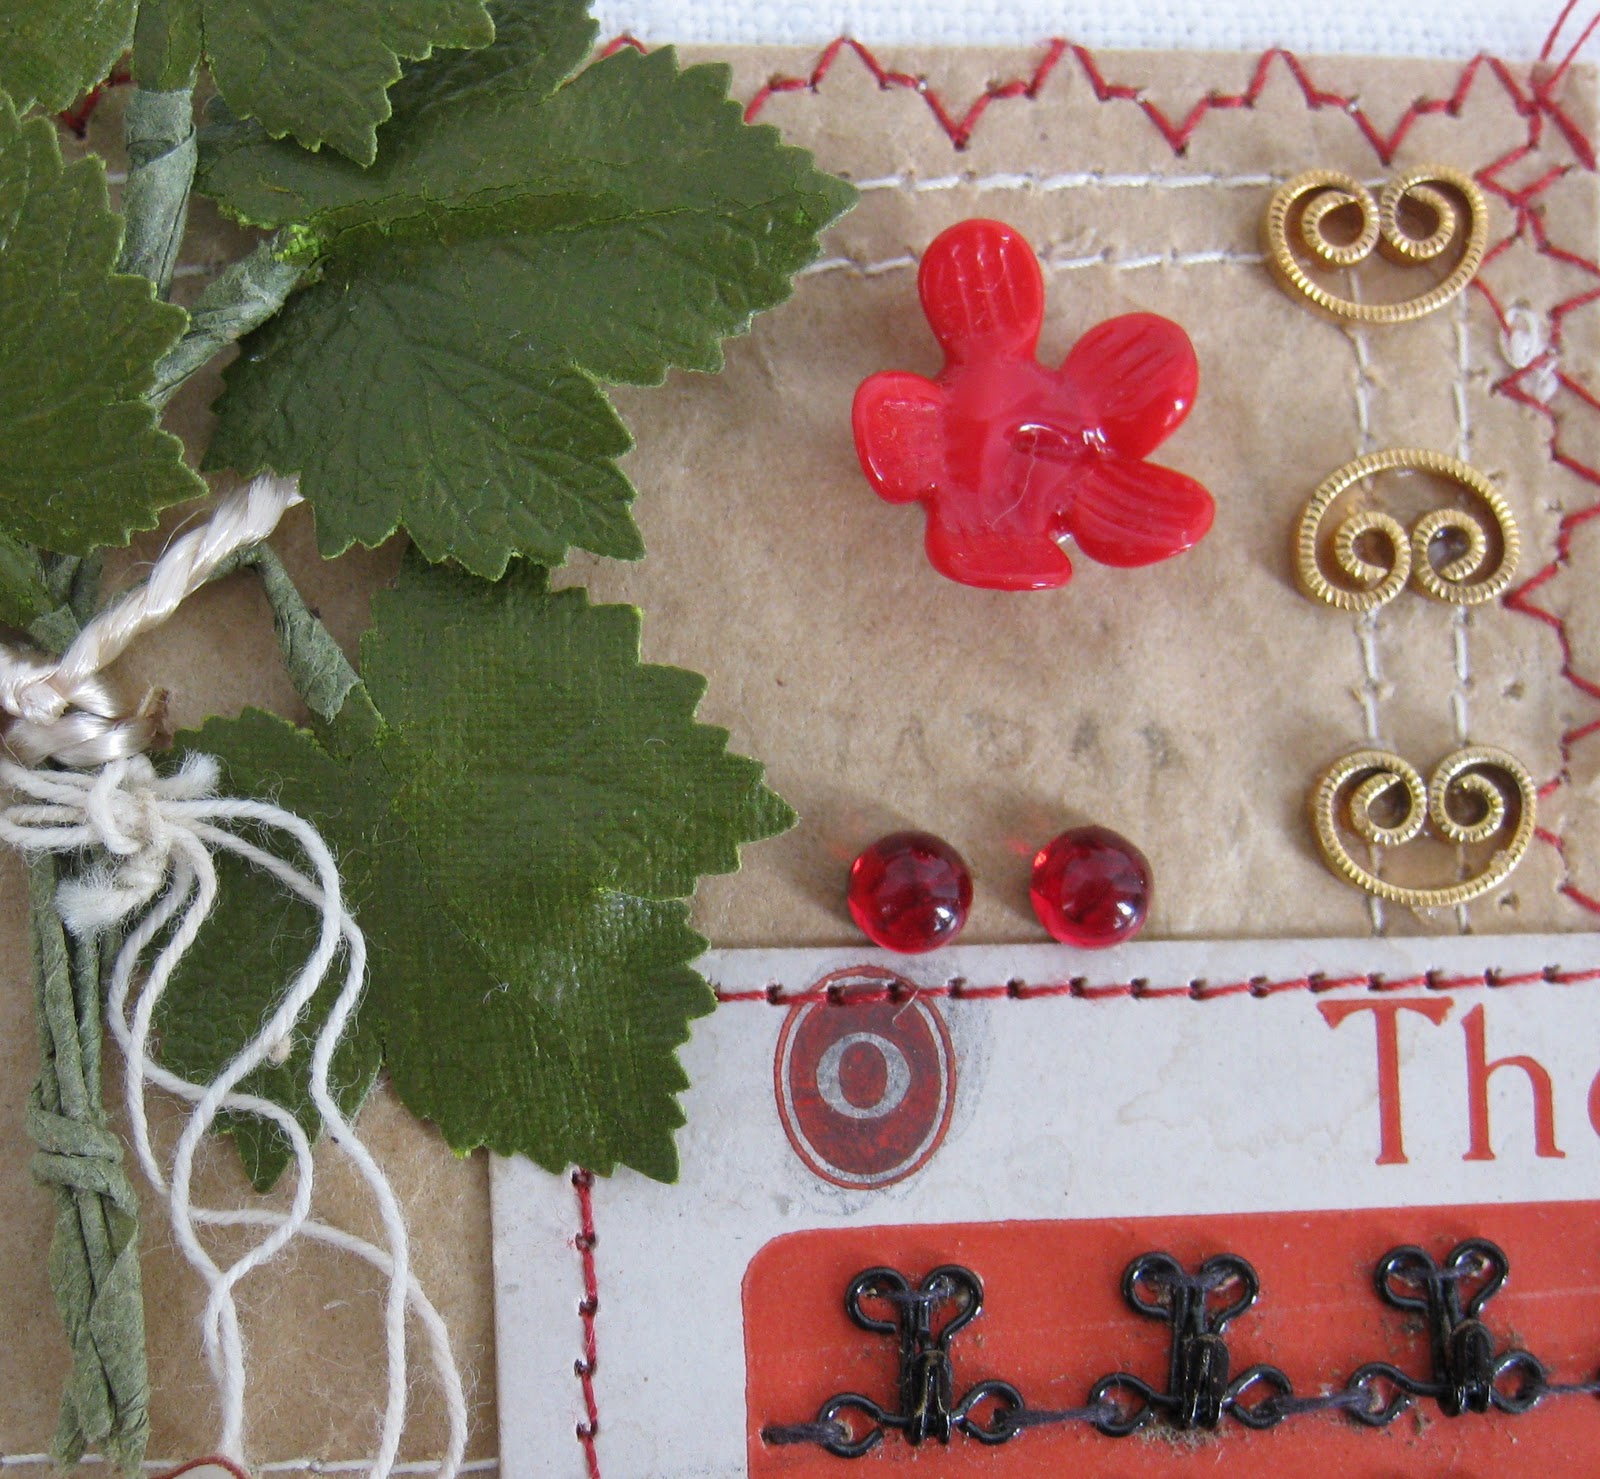
It's easy to use vintage glass and plastic cabochons in mixed media and jewelry arts, and one of the easiest ways to incorporate them in your art is to glue them.
With gluing, you can make layered designs, such as the ring above....
You can make your own charms and embellishments, for jewelry or mixed media....
You can make stud earrings...
You can use gluing as a step to secure cabochons to a filigree and then wrap filigree around them. Or in this example, I will use glue to secure the rhinestone into the pronged setting, since this particular stone and setting are not exactly matched, and without the glue, the stone will slide just a little...
You get the idea. I've pulled together these tips for gluing vintage glass and plastic cabochons into your mixed media and jewelry designs, things that I've learned through trial and error over the years.
1) Work in a well ventilated area.
2) Use the right glue.
Craft glues or hot glue will not give you the bond and/or the professional finish. I've tried lots and lots of glues, and I now use E6000. I'm guessing there are other jewelry glues that also would be effective, but since E6000 works really reliably for me, I'm sticking with it (ha ha...) E6000 dries out pretty quickly, so I usually purchase small tubes now. You want it to be clear and stringy. Once it is cloudy or thicker, the bond is not as strong.
3) Clean your metal and maybe your cabochons.
Use a cotton swab and dampen with rubbing alcohol, squeeze out the excess and swab the metal surface to be glued. Then flip the cotton swab over and use the dry end to dry where you have swabbed. I always do this cleaning step for metal surfaces, which can have oils or residues from their processing. I don't always do it for the cabochons, it depends. If they are plain glass on their backs, I always clean them. If they are foiled on their backs, I never clean them. I often clean plastics, but not always. I've worked with a lot of different types of vintage plastics and not had a problem, especially since I am immediately drying the cab with the other end of the swab. However, if you have any doubts or you are unsure about the material you are working with, don't apply any sort of solvent to it.
4) Put your glue on the smaller of the two surfaces to be joined.
So, if you want to glue a glass cabochon onto a metal bezel or setting to make a charm or pendant, put the glue on the glass cabochon. If the cabochon has a rim, like the one in the photo above, spread the glue on the rim. If you want to glue an earring post onto a cabochon to make a stud earring, put the glue onto the earring post. Spread a thin layer of glue as close to the edges of the surface as possible. Covering the surface as completely as possible is important to getting a good bond.
5) I use a highly technical and specialized tool to apply glue, the rounded wooden toothpick :) I use this to pick up glue and put it onto the surface(s) of items I am gluing, I use the dry end to gently press surfaces together, such as pressing a cabochon into a bezel setting, or pressing an earring post pad onto a cabochon, and I use it for scraping up excess glue from places I don't want glue to be.
6) To glue things with a rounded or irregular surface or shape, use a bowl of rice.
Nestle the cabochons, earrings, charms, bezels, whatever you are gluing, into the rice to dry. Above, I show cufflinks drying, post down.
This works well for making stud earrings, and also really helps with making charms and pendants that are not completely flat, for example, those with a bail. Save your rice in the plastic container for the next time. I have a dedicated rice bowl in my studio for this purpose.
7) If necessary, glue under magnification.
I usually use high powered reading glasses so I can see the positioning and and remove any unwanted glue.
It helps alot if the glasses are cool colors with hand painted embellishments :)
Additional suggestions:
1) In addition to working in a well ventilated area, I often do my gluing at the very end of my day, and then leave my studio so the fumes completely dissipate before I return to my studio in the morning.
2) If you are gluing a cabochon into a setting or bezel, it is obvious where the cab should be positioned. But sometimes you may be gluing a cabochon to a filigree, or an earring pad to a cabochon, and where you glue will affect the presentation of your piece. Check the positioning of your items before gluing as much as is possible, to ensure the finished product will work the way you want it to. Here's an idea from my mixed media background: Play around with positioning using glue dots, you know, those dots of glue that come on strips of paper. You can temporarily adhere your cabochon to the base to check positioning, then remove the glue dot and use permanent glue to glue the cabochon securely in the location you want.
3) What if you use too much glue? If you see glue oozing out where you don't want to see it, use the dry end of the toothpick to gently and carefully scrape up the glue. Wipe your toothpick on a rag, and go back in to get more of the excess glue off. I recommend a rag, not a paper towel, since the paper can get stuck to the toothpick. If it's really just a gloppy mess, pull the two surfaces apart, and if the surfaces are the right type, clean both with isopropyl alcohol to remove the glue residue from both surfaces, dry, and start again.
4) I always dry overnight, no matter what the glue container says.
5) I do quality control. I check my materials before gluing to be sure they are the condition I want. After gluing, basically, I try my darndest to pry apart the glued items.
I hope this is helpful. If you have additional suggestions or experiences with gluing cabochons, I'd love to hear them!










 Posts


