

This post will share one method I use to clean and change the patina of vintage brass.
We stock a lot of materials at Bumbershoot Supplies that are made of or contain brass components. Of course, raw, unsealed or untreated brass develops a patina over time. Sometimes that is a very pleasing effect and quite desirable for vintage-inspired designs.

These brass beads, for example, have a fabulous gingerbread patina that is simply gorgeous.
Sometimes, however, the character of the patina is not quite right for the particular design purposes.

For example, consider these charms from 1950’s Japan, which we stock at Bumbershoot Supplies. You can see that the patina is uneven. For my particular designs I wanted a vintage inspired look and I was concerned that using them as is might make them look vintage, but not inspired. What to do? I show another example of the same thing below.

There are choices. I could try to clean up the brass, restoring it to the original golden color. Or I could use chemicals to patina all of the brass, making it all a uniform dark color.
In this case, I decided to try to see if this brass could be brought back to its original golden color. You can polish brass of course - I often use ProPolish pads to check the brass stampings and findings that come into Bumbershoot Supplies. I could also use a toothbrush and polishing paste. But with wire, and tiny components with uneven patina like these charms, I want an approach that is much, much quicker. So I decided to soak them in a lemon juice and salt solution to see what happened.

You need:
A small plastic or glass container
Lemon juice
Salt
Mix some salt into the lemon juice. I’ll be honest, I don’t measure. The dish in the photo probably holds ¼ cup lemon juice and I just threw in a bit of salt. Then, toss in the items you want to clean.
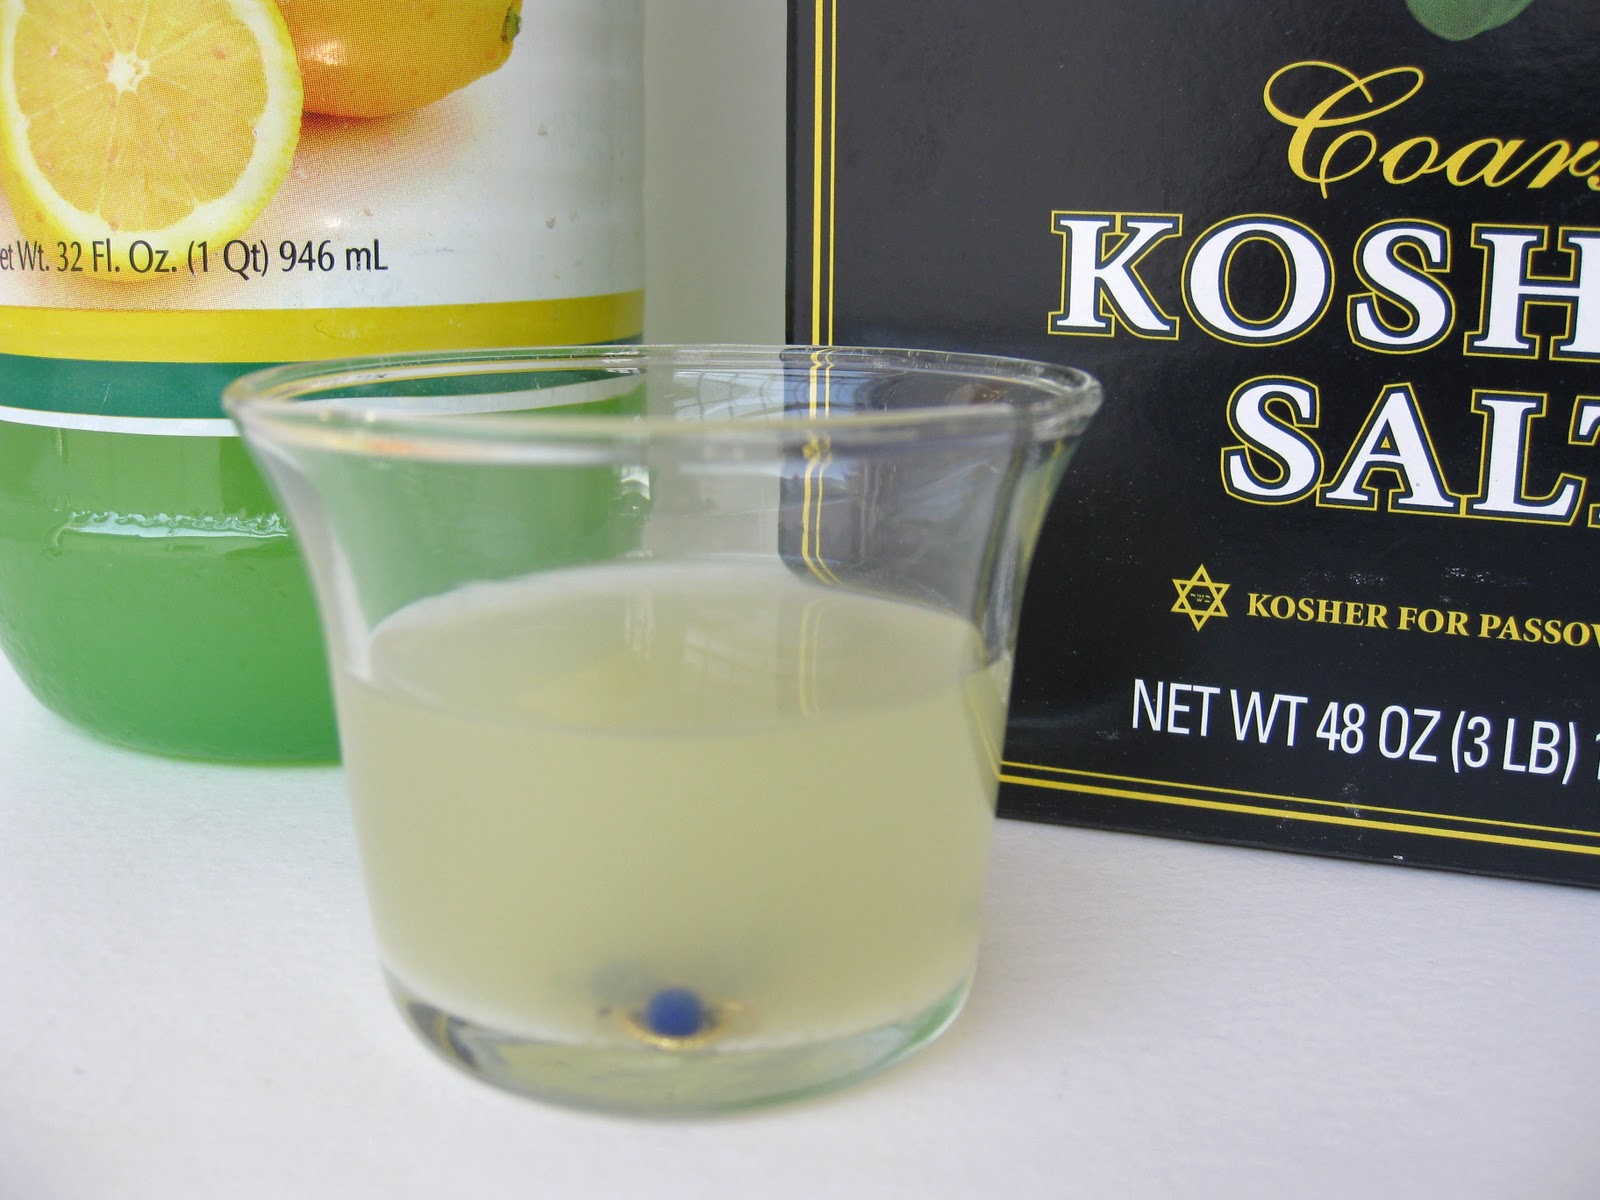
And wait. Usually I don’t have to wait very long. Sometimes the removal of the patina is within minutes, rarely it takes a few hours. I just check regularly until I can see the process is complete. By the way, I'm told that vinegar works too, I haven't tried that yet.

Note that with these particular charms, some came very clean of patina and are now golden in color, and others are revealed to be a mottled golden and reddish color. This is the end point for these charms. Further time in the lemon juice and salt mixture will not convert them to a uniform golden color since this reflects the characteristics of the old brass from which they were made and the oxidation reaction that caused the original patina.
Now I have another decision point. Do I work with the mottled charms as they are, or do I go the other direction, and use chemicals to patina the brass to a uniform dark color? Since I am looking for a uniform appearance, I decided to darken them.

Here’s what it looks like to dunk the mottled charms into a patina solution – they darken up nicely and uniformly. This picture actually shows 2 lots of charms: 1) two of the charms from above that were first in the lemon juice-salt solution and 2) one charm that I put directly into the patina solution without going through lemon juice-salt first. I can't tell the difference. You could, at this point, polish these charms a bit to bring out golden highlights on the textured jump ring, or you could leave them as is.

Sometimes the lemon juice and salt soak works quite well. In the photo above, I show some 1940’s occupied Germany glass and brass wired flower clusters that came out nicely golden after being in lemon juice and salt. I also put these in patina solution, that cluster is shown on the right. The original is in the middle. The result you get from a lemon juice and salt soak depends on the characteristics of the original brass, the characteristics and age of the patina, and the shape of the metal, for example, plate vs. wire, wire thickness, twists, and so on.

One side effect of using lemon juice and salt to remove patina from brass is that it cleans up glass beads too. I had tried many methods to get the beads in these charms clean and pretty much despaired of being able to use them. Then, in looking for materials to use for this tutorial, I tossed these into the lemon juice and salt, and look at how clean these beads are now! Originals on the left, soaked bead on the right. And no effort on my part, I love that.
One thing I have found in working with vintage materials, is that it helps if you can locate that adventurous part of yourself, the part that is curious and willing to take risks, even take a risk with a piece or two of your materials to see what will happen. This is because vintage materials are unpredictable and you can’t guarantee results. Start slow, just a few or even one piece at a time to see what happens.
And let me know how it goes!


I am definitely marking this for later use!
ReplyDeleteWhat patina solution do you use to darken brass? I have not found something that Works great on brass... Just copper and silver!
ReplyDeleteThanks
Hi Jennifer, There are so many ways to darken brass and everyone has their favorite :) A quick google of "patina solution for brass" will bring up several recipes and solutions you can try. Good luck! ~Sharon
ReplyDeleteThe salt & lemon juice solution worked great on my vintage brass pieces! I only soaked them a few minutes and they look beautiful. I am wondering if I should polish them now? Maybe let me know & I will check back. Thank You~
ReplyDelete